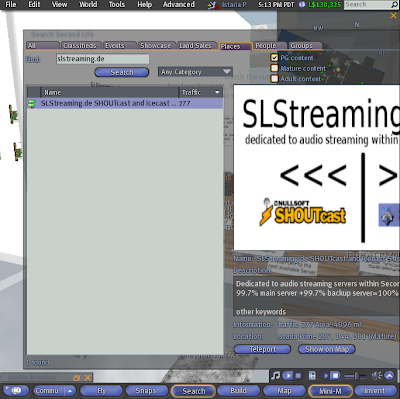
Locate SLSteaming in search and teleport there.
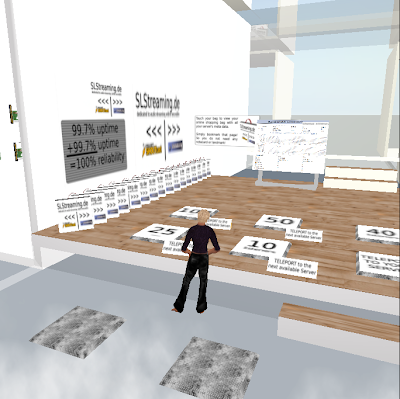
Teleport to an available Shoutcast stream by number of listeners desired. Usual standard is 100 listeners.
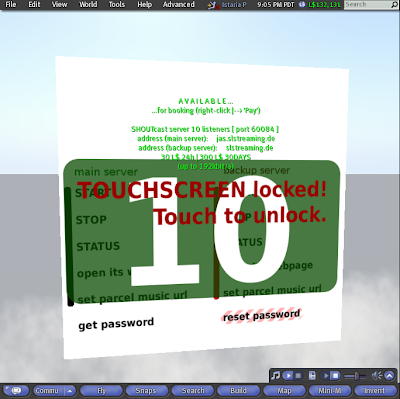
Get your stream by paying the poster the proper rent for the desired rental period. In this example, we need just 10 listeners for test, but much more capacity is needed for a club. The floating text should be bright green, indicating the port is available for rent.
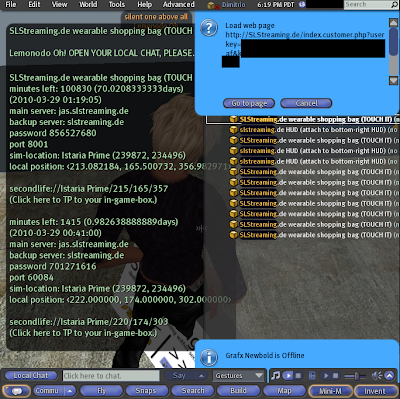
When bought, information comes up on your screen and you should be able to load a link for your in-world browser.
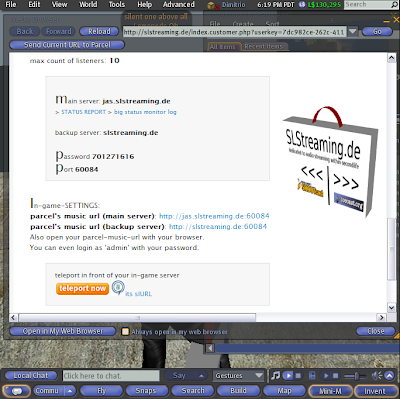
Go ahead and bring up the screen in your browser or touch your shopping bag and you also get the opportunity to load this screen. Or load it in external browser and bookmark it. This is the best way to get all the current information about your stream at SLStreaming.de and it has the exact information you are looking for, including the URL for the backup server in case you ever need it.
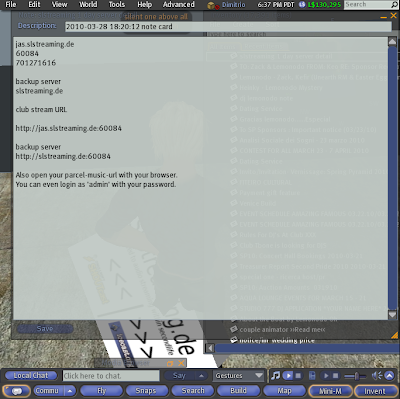
Optional. This is what an in-world notecard of stream details might look like. Sometimes people also copy the information to an external file so it can be reached in case of problems using the browser. It is much better to use the web interface for assurance of current information and verification the stream is actually available for use.
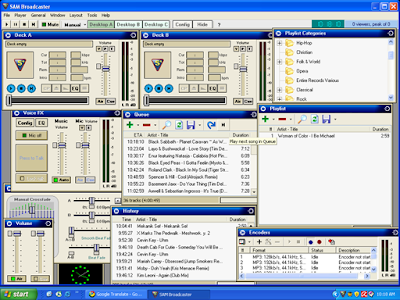
Bring up your Sam main screen.
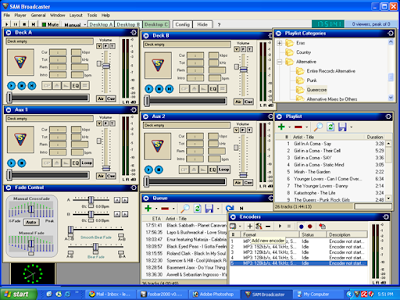
Go to the Encoders pane and click on the big "+" sign to add a new encoder.
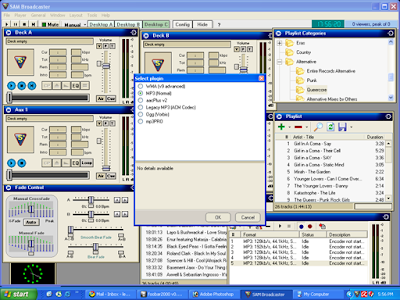
We're going to be setting up a stream in the most normal way. Note the selection, MP3 Normal.
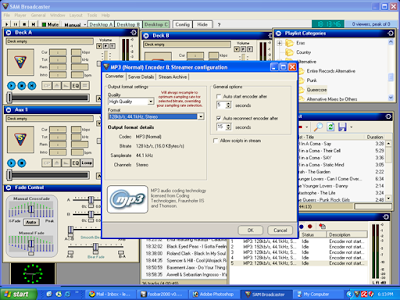
You need to add the specifics for your encoder. These maxed out choices will work fine for you on your SLStreaming.de stream in many parts of the world. Reduce only if your internet connection is poor.
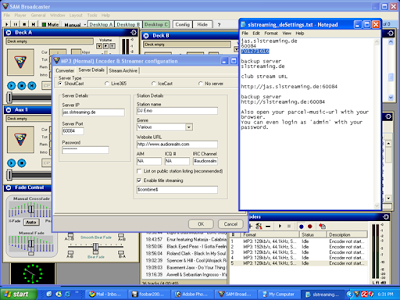
On the Server tab, you need to add all of your SLStreaming.de details. Make sure Shoutcast is selected. Copy from your browser or optional method. Make sure each field has just the data asked for, no extra spaces. Also, on the password, make sure the number of stars corresponds with the number of password characters. This example shows the stream is kept private because you may not be running a true 24-hour internet radio station, but turning on titles is extremely useful in case an in-world radio is set up to display information and switch to your stream on the selected parcel.
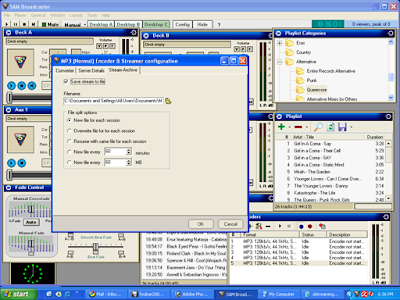
Usually you want to archive your streamcast, so don't neglect this tab. Check the box and choose a file location. You can personalize the file name where it says "stream." Notice all the choices about limiting the file. Usually it is best to do about a one hour file, because then you can easily burn it to CD. The file opens automatically when the stream starts, and closes when you shut down the stream.
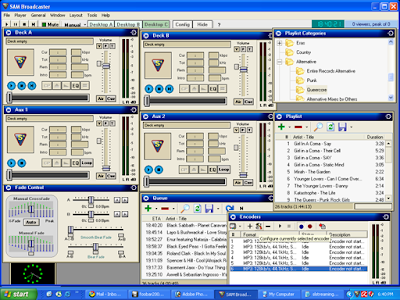
Click OK, and your encoder is now done. It will be the last one on the list. Go ahead and hit the screwdriver icon to open it, and you should see all your information just as you left it.
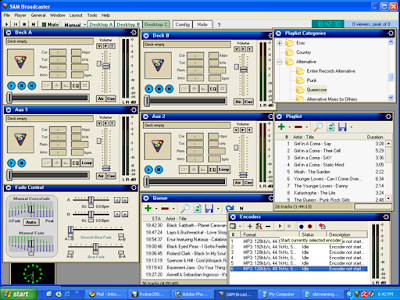
Time to start the stream. Click on the triangular arrow-like icon to start the stream. It connects.
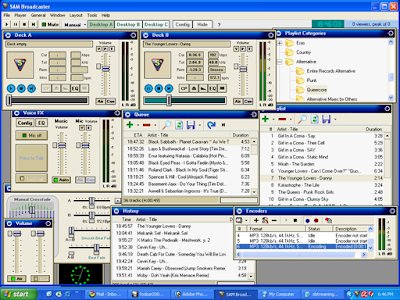
Here the stream is under way. The VU meter at the deck and at the encoders is active.
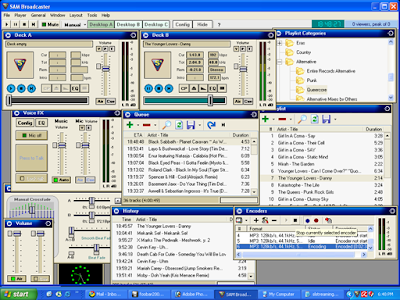
The way to stop the encoder after you are done streaming is to simply hit the black square icon near the start arrow you hit previously.
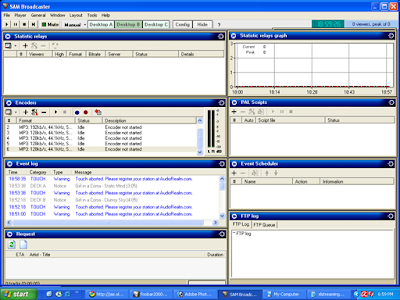
On Desktop B, Sam has some great statistics, which are more appropriate for a full internet radio station. In world, many radios tell you how many listeners without the invasive registration that Sam might require. However, the log is very important to diagnose problems such as skips in the stream (maybe lower bps needed) or indication of tracks that failed to play. If Sam can't find certain tracks, it goes through the playlist very fast until it finds one it can load with no error reporting except in this log, where an entry might appear in red.
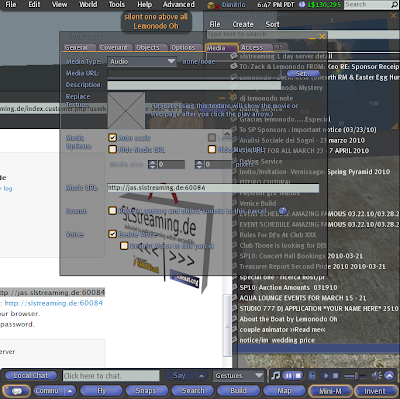
This image shows how you as owner of a parcel (or member and in proper role of certain groups) can go to About Land -> Media tab and set your audio URL to the club URL from SLStreaming.de web page.
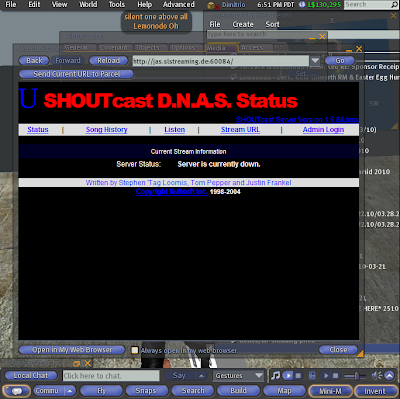
This is what your stream looks like in a browser when not streaming. Note this screen may also appear as completely white in Shoutcast if not streaming.
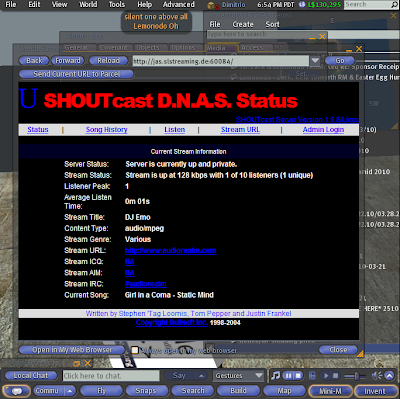
This is what you want to see when the stream is up and running. You can also see the maximum number of listeners on this page.
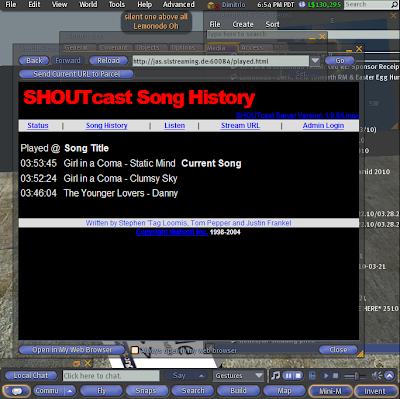
Finally, there are other pages associated with your web page, such as song history and admin, but for admin, you need to use the external browser because of pop-up for the login as admin and your assigned password.


